
This page explains how to set up LedgerSMB's first company after having completed installation, e.g. through the docker-compose.yml file. Please note that your full URL may differ depending on your installation method.
In case you just completed the quick-start instructions, the base URL at which LedgerSMB is accessible is http://localhost:5762 (If you have a full production setup, you shouldn't need the port indicator [the ":5762" part]). There are two URLs (entry-points) you can use to access the application:
- /setup.pl [full URL: http://localhost:5762/setup.pl ]
- /login.pl [full URL: http://localhost:5762/login.pl ]
The two entry points each serve their own purpose: setup.pl is the main tool for the database admin (lsmb_dbadmin); it serves to create new companies, create copies of companies, add users to companies and reset user's passwords. login.pl provides access to all other types of users.
Creating the first company
After browsing to setup.pl, the browser should show:
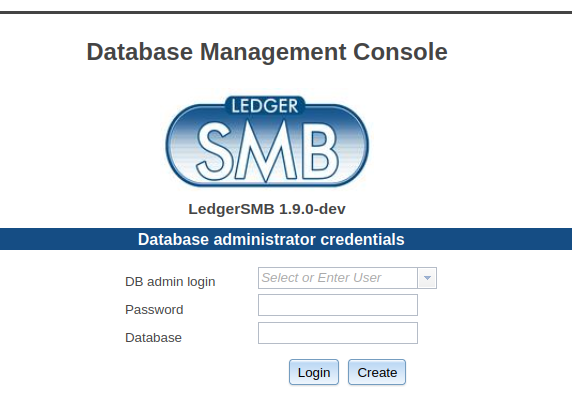
In case the screen only shows the "Database" field, this indicates problems with JavaScript not having loaded correctly. Fill out the fields as follows:
- Super-user login: lsmb_dbadmin
- Password: <the password used in the installation>
- Database: testcompany
Confirm the screen by clicking "Create". When the server is done creating the database for the company, a new screen will be returned. This can take up to 20 seconds.
The resulting screen shows:
 Click "Skip" in order to skip loading a pre-defined Chart of Accounts. Select a country code and click Next to list the pre-defined charts of accounts.
The resulting screen then shows a list of available Charts of Accounts:

The screen above isn't shown when "Skip" was selected in the step before. Clicking "Skip" in this screen skips loading a pre-defined chart of accounts.
Regardless of whether CoA loading was skipped or performed, the following screen will be presented:

Select 'demo' templates for use with LaTeX; select 'xedemo' templates for use with XeLaTeX (which has better support for UTF-8 / accented characters and non-latin character sets). The exact choice made in this step is not highly important: templates can later be changed by loading new ones into the database. After confirming the selection by clicking "Load Templates", the following screen shows:
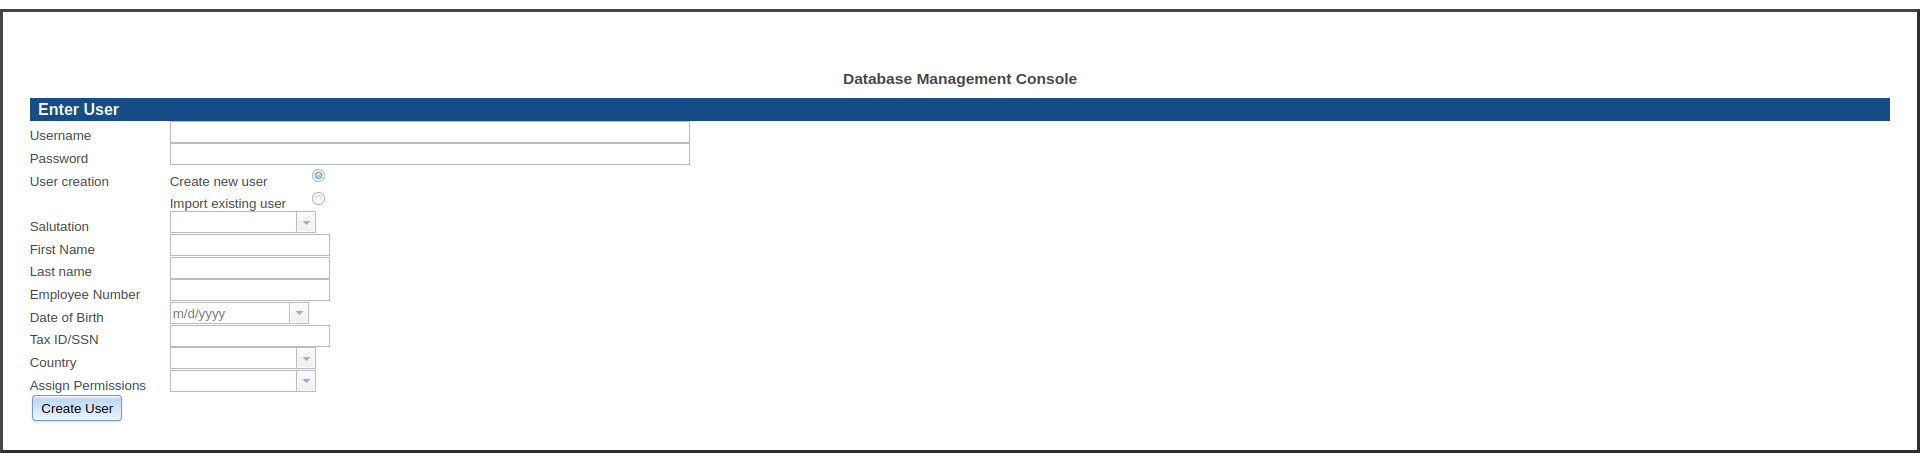
With this screen, the first user for this company gets created. There are two modes:
- Import (Yes): Assumes the username already exists in the database (e.g. because it is already used for another company; re-uses the existing username+password)
- Create (No): Assumes the username does not already exist; will create a new username
The "Assign Permissions" selection determines the rights assigned to the user:
- "Full Permissions": The user may perform any task in the application
- "Manage Users": The user has just enough rights to create new users who have appropriate rights
For the purpose of this quick-start guide, enter the following details:
- Username: first_user
- Password: first_user
- Import: No
- Salutation: Mr
- First Name: First
- Last Name: User
- Employee Number: 1
- Date of Birth: (today's date)
- Tax ID/SSN: 1
- Country: (your country)
- Assign Permissions: Full Permissions
After confirming these data by clicking the "Create User" button, the following screen shows:
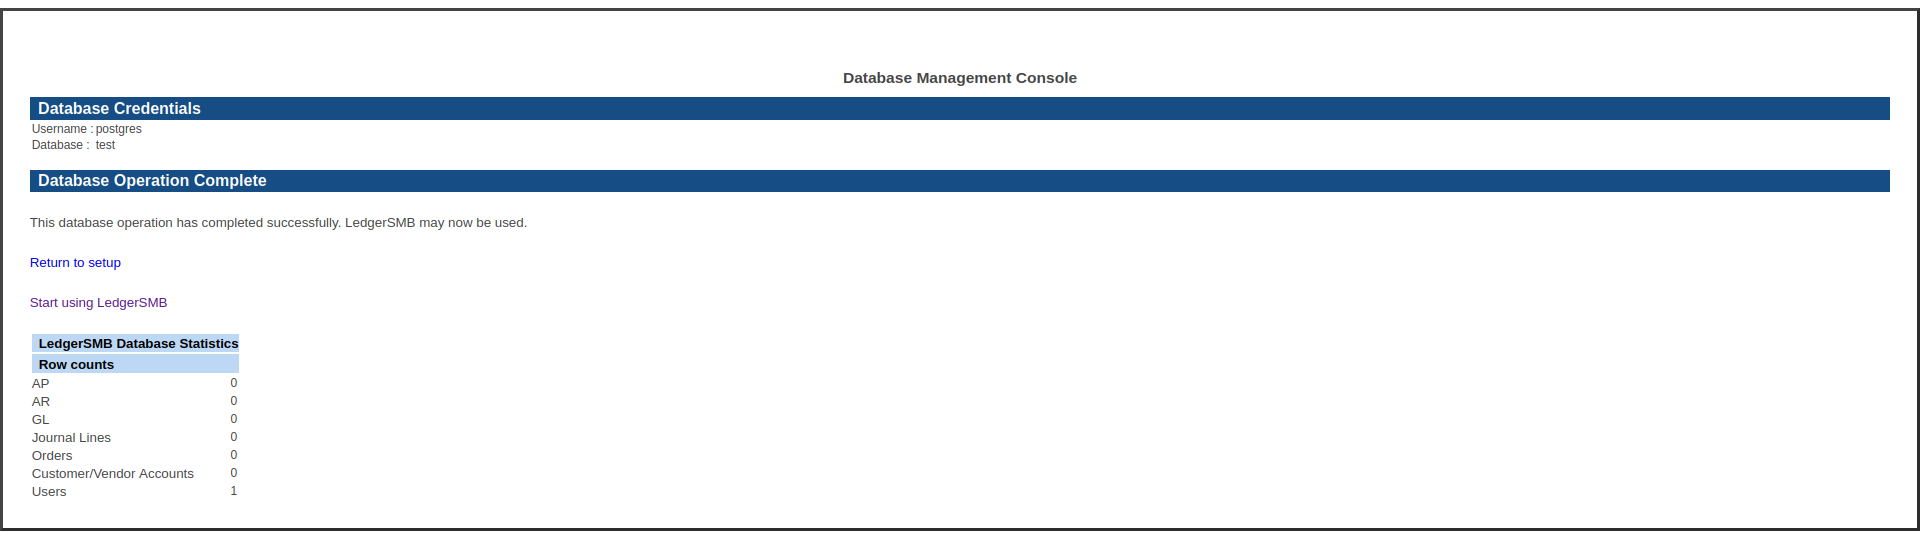 First user login
The "Start Using LedgerSMB" link opens the main application login screen, which can be used to log in using the initial user created above:
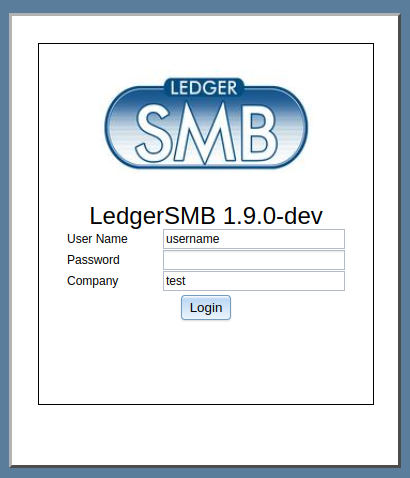
Confirming login results in the following page*:
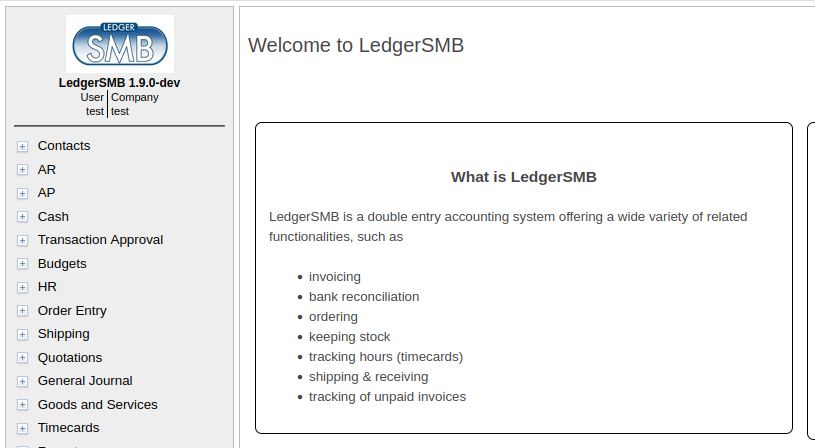
* Note that the picture shows company name "test", but when succinctly following the instructions, it should show "testcompany".
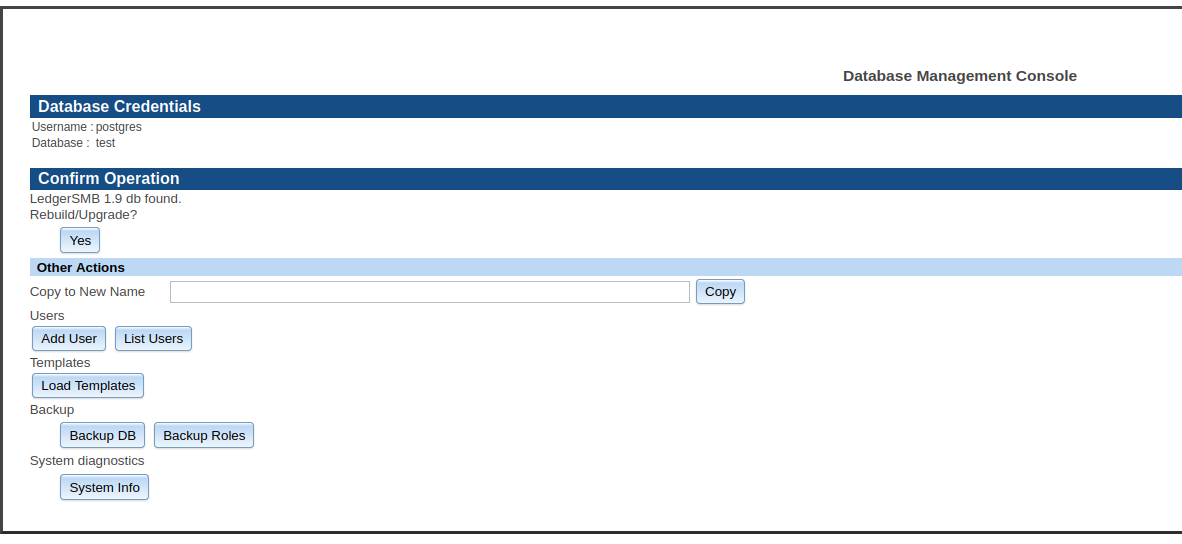
Database administration of first company
Once the testcompany has been created, it can be logged into through setup.pl as well as through login.pl. When logging in through setup.pl, the following screen with database administration functions shows:
 What's next?
The system is now set up for evaluation and testing. The project has multiple channels to contact other users or the developers. Read all about that on the community project resources page.
Any comments as to this specific article? Please sign up to the site and leave your comments below!